Projects
My Projects
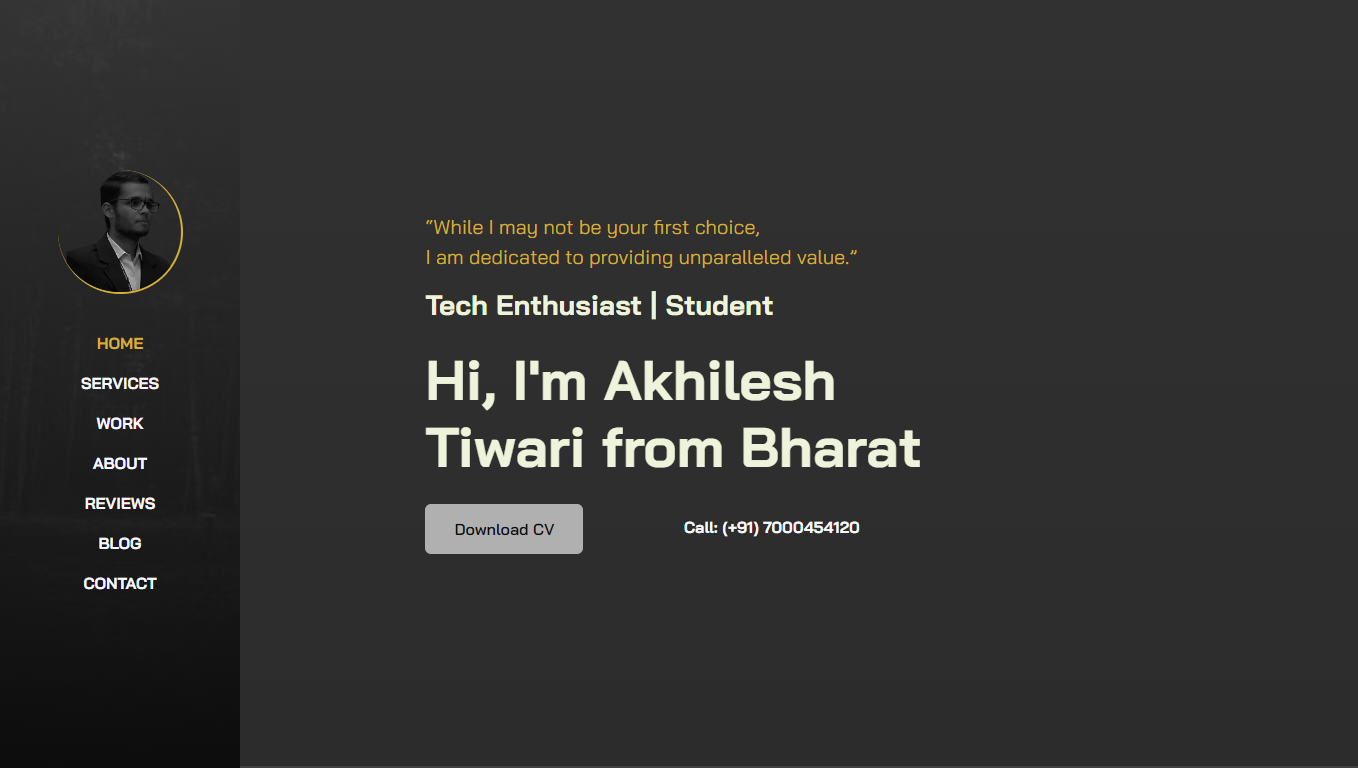
I have created a fully responsive portfolio to showcase my skills, projects, education, and more. The development of this project was like a meet-up—a meet-up between me and various frontend technologies. Among them, I was most delighted with Bootstrap, as we spent a considerable amount of time together. After this meet-up, I can conclude that the creator has made three things exceptionally beautiful: one is me, one is Bootstrap, and the third is... (you can fill in the third item as per your context).
This portfolio is not as simple as its name might suggest. I started a month ago by following a YouTube tutorial. But when I deployed my project on GitHub, I encountered the real issues. It doesn't make sense to assume that just because a website looks good when inspected in your Google browser, it will work well on all devices. It might not even work properly on other Google browsers. So, the real-time experience is very different from what you see on a local server. I had to make significant compromises with my initial portfolio project. Later, I talked to a friend and asked for suggestions on how to overcome the responsiveness issue. He suggested I explore Bootstrap, an amazing member of the frontend technology family. I then started another YouTube tutorial to learn how to create a responsive portfolio, and that video helped me a lot in getting acquainted with Bootstrap. Once I completed the portfolio site, my curiosity pushed me to make it more advanced, more interesting, and capable of fulfilling my expectations. Gradually, I started to understand Bootstrap better, and it began revealing everything I needed.
Now, I would like to introduce you to the features of my portfolio:
- Navbar and Offcanvas Component: I used both the navbar and offcanvas components from Bootstrap. The navbar is active on large screens, while offcanvas is used for smaller screens. I chose offcanvas primarily for its backdrop, backscroll, and the ability to close the navbar upon clicking on nav-links. However, Bootstrap removed the feature to close offcanvas using nav-links from version 5 onwards. I had to use a script to implement this, but it still provides the functionality of backdrop and backscroll.
- Animations: I didn't use the commonly used AOS (Animate On Scroll) because it was sometimes unresponsive, leading to loading issues with page elements. I needed to create a professional portfolio, which didn't require fancy scrolling effects, so I created my own animations on scroll. Throughout the site, I used only the aos-fade-up and aos-fade-in effects.
- Content Management: All the content is currently in index.html, but I have created an additional page named projects.html for future use, where I can add all my projects in one place.
- Bootstrap Modal Component: I used the Bootstrap modal component in the About and Codespace sections of my site. This component provides a backdrop and makes it easier to manage uneven lengths of cards or content.
- Carousel Component: In the Codespace section, I have a carousel component, which automatically slides between different slides. It also has buttons for preview and next. On touch-screen devices, it supports swipe functionality.
- Alert Feature: The most important feature is the alert used on my site because currently, I don't have any subscribers.
- Custom Cards: I used custom cards that were part of the tutorial video. Additionally, I used Bootstrap's card component in the blog section and included a navigation button to directly move to the “All Posts” page on LinkedIn.
- Form Integration: From my first tutorial, I learned how to navigate messages from the form to Google Sheets, and I applied that here. Moreover, I provided form validation using a script.
- JavaScript and jQuery: I avoided using plain JavaScript directly because of its various cross-browser issues. Instead, I opted for a JavaScript library called jQuery to handle all the scripting.
- Bug Fixing Experience: During this project journey, I solved several live bugs and issues, which was an amazing experience—sometimes frustrating and other times motivating.
- Hosting: I hosted the portfolio on GitHub Pages, which added another layer of learning to this project.
- Optimization: I used minified versions of HTML, CSS, and JavaScript files to improve the site's performance.
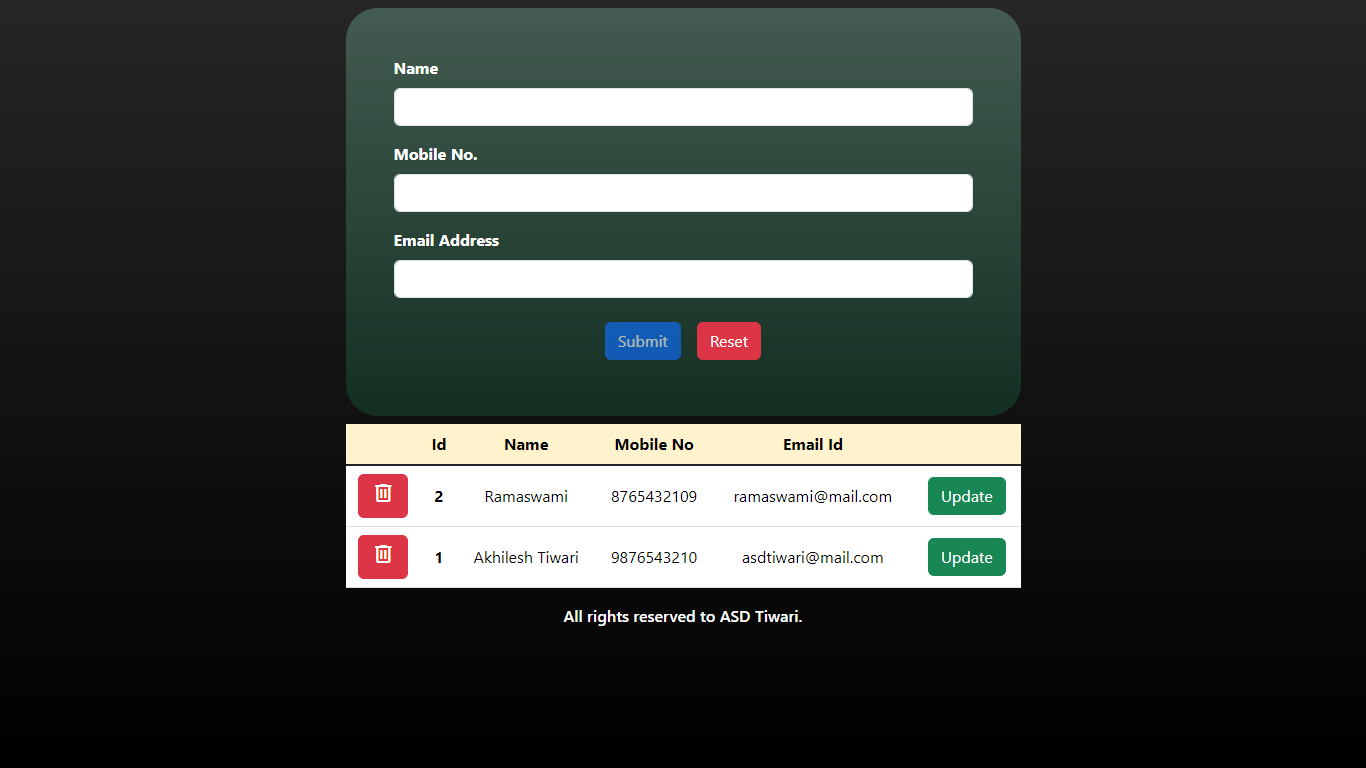
I finalized my Angular learning journey by developing a single-page CRUD operation application. Learning Angular is quite intricate. I am still confused about several bugs that I solved using the trial-and-error method, but I can't quite understand what is happening behind the scenes. It's really not as easy as it seemed initially. However, this learning experience opened new doors for me, such as Vercel, Heroku, Railway, Glitch, JSON-server, and many other tools. This project was just a simple hands-on exercise, but completing it made me very happy. I look forward to working with Angular in future projects.
Special Features of the Project:
- Form Validation: The form cannot be submitted until all fields are correctly filled out.
- Live JSON-server Integration: I created a repository named angularCrudOperationJsonServer and linked it to Glitch, which provided me with a live JSON-server for this application.
- Real-time Updates: Any changes made are directly visible on the screen without any need for refreshing.
- CRUD Operations: You can add, modify, and delete details.